Meal Prepping Made Simple: A Step-by-Step Guide
January 27, 2026 | Food
Meal prepping is simply preparing your meals or parts of your meals ahead of time so that you can save even more time and be more efficient. Having dinner prepared (or, mostly prepared) at the end of a day’s work makes things so much easier. There are several ways to execute meal prepping but for the sake of this post, I am going to share tips on how to prep for the week ahead.
Here is a detailed step-by-step guide:
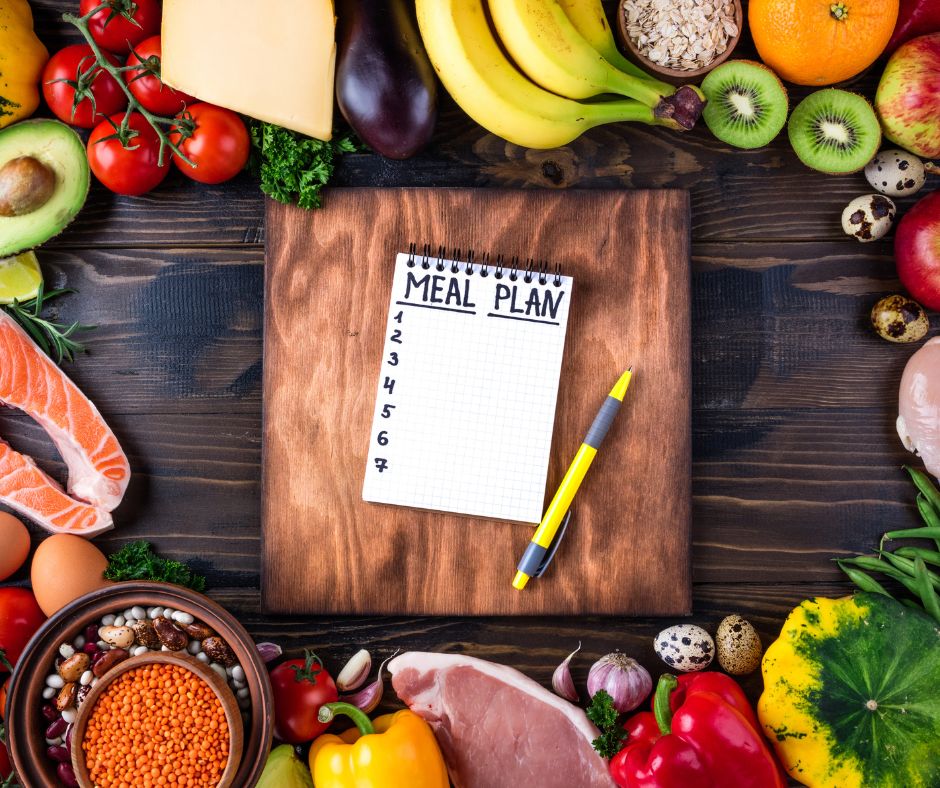
Step 1: Plan Your Prep Day
• Choose a specific day and time that works best for you to dedicate to meal prep. It might work best to do it over the weekend so you will be set for the week ahead.
• Make sure you clear a chunk of time. I usually need about and hour a bit more to meal prep. Timing depends on the complexity of your recipes and the number of meals you're preparing. The meal plans I've prepared are great tasting, healthy but also designed to be super time efficient. I've included steps below to help you plan you own meals but you can also click here to go directly to our meal plan page.
Step 2: Gather Your Supplies
• Pull out your recipes for the week. Then assemble all the necessary equipment and supplies, including cutting boards, sharp knives, measuring cups, mixing bowls, pots, pans, baking sheets, and a variety of airtight containers.
• Ensure your workspace is clean and organized to streamline the process.
Step 3: Prep Your Ingredients
• Begin by washing, peeling, and chopping your fruits and vegetables as needed for your recipes.
• Precook items like grains (rice, quinoa, pasta) and proteins (chicken, beef, tofu) following your recipes.
• If you plan to make sauces or dressings, prepare them in advance.
Step 4: Cook Multiple Dishes Simultaneously
• To save time, multitask by cooking different components of your meals simultaneously. For example, while your protein is roasting in the oven, you can sauté vegetables on the stovetop and prepare grains in a separate pot.
• Be careful to avoid overcooking or burning any elements.
Step 5: Assemble Your Meals
• As your ingredients finish cooking, start assembling your meals. Use a variety of containers to portion out your ingredients according to your chosen recipes. There may be parts of the meal that you don't assemble until you heat them.
Step 6: Label and Date
• To prevent confusion and maintain freshness, label each container with the name of the meal and the date you made it.
• This step is crucial if you plan to freeze any meals.
Step 7: Cool Before Storing
• Allow your prepared meals to cool to room temperature before sealing them in containers. Storing hot food can create moisture, which may lead to spoilage.
• Once cool, ensure the containers are sealed tightly to preserve freshness.
Step 8: Storage
• Meals you plan to consume within the next few days should be refrigerated. Typically, meals can be stored in the refrigerator for 3-4 days.
• For longer-term storage, use the freezer. Glass containers are ideal if you intend to reheat your meals in the oven or microwave.
Step 9: Reheating
• When it's time to eat, reheat your prepped meals with care. Use a microwave or oven, and avoid overcooking, which can affect the taste and texture.
• If you're reheating frozen meals, remember to thaw them in the refrigerator overnight before reheating.
Step 10: Enjoy Your Week of Prepped Meals
• Congratulations! You've successfully meal-prepped for the week. Now, you can enjoy convenient, nutritious, and delicious meals every day. If you are up for it, have extra freezer space, and want to make extra of a certain recipe, go for it!
Savor the time and stress you saved throughout the week!
Click here to go directly to our meal plan page where you will find amazing meal plans already designed for you!